It is possible to run OpenQBMM directly on computers executing Windows 10 or 11, on which the Windows Subsystem for Linux (WSL) has been installed. This guide will show you how to install WSL, and run OpenFOAM and OpenQBMM on it.
Installing WSL on Windows 10 or 11
The following steps illustrate how to install the Windows Subsystem for Linux (WSL) on Windows 10 Falls Creators Update or newer. The procedure is slightly different from previous versions of WSL, because the possibility of using different distributions was added in this update. Each distribution can be obtained from the Microsoft Store.
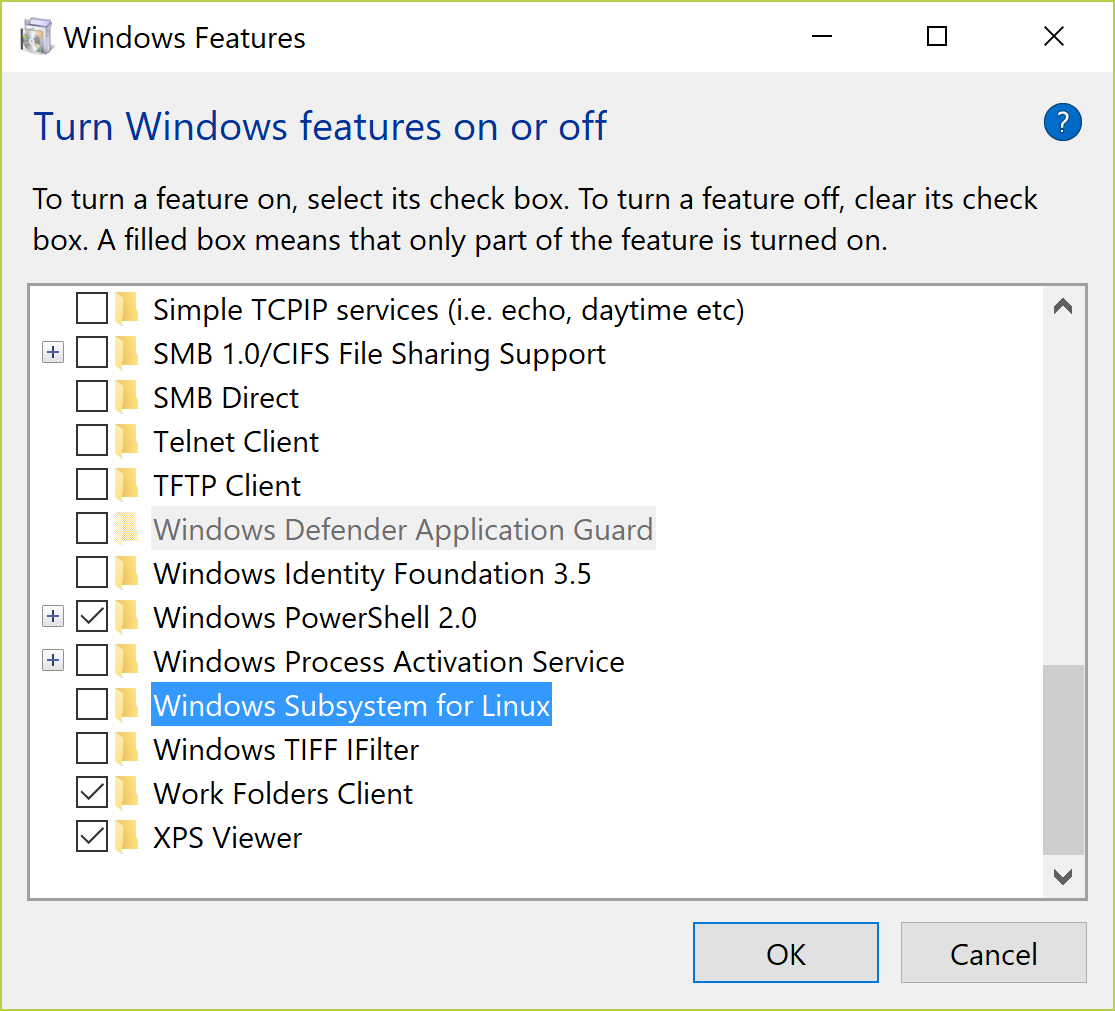
- The first step consists in launching the tool to add extra features to Windows 10. This tool can be found by pressing Win + S and typing “Features”. The menu will show the icon in the figure.

- In the tool, scroll down and select “Windows Subsystem for Linux”. Check the box and click on OK.
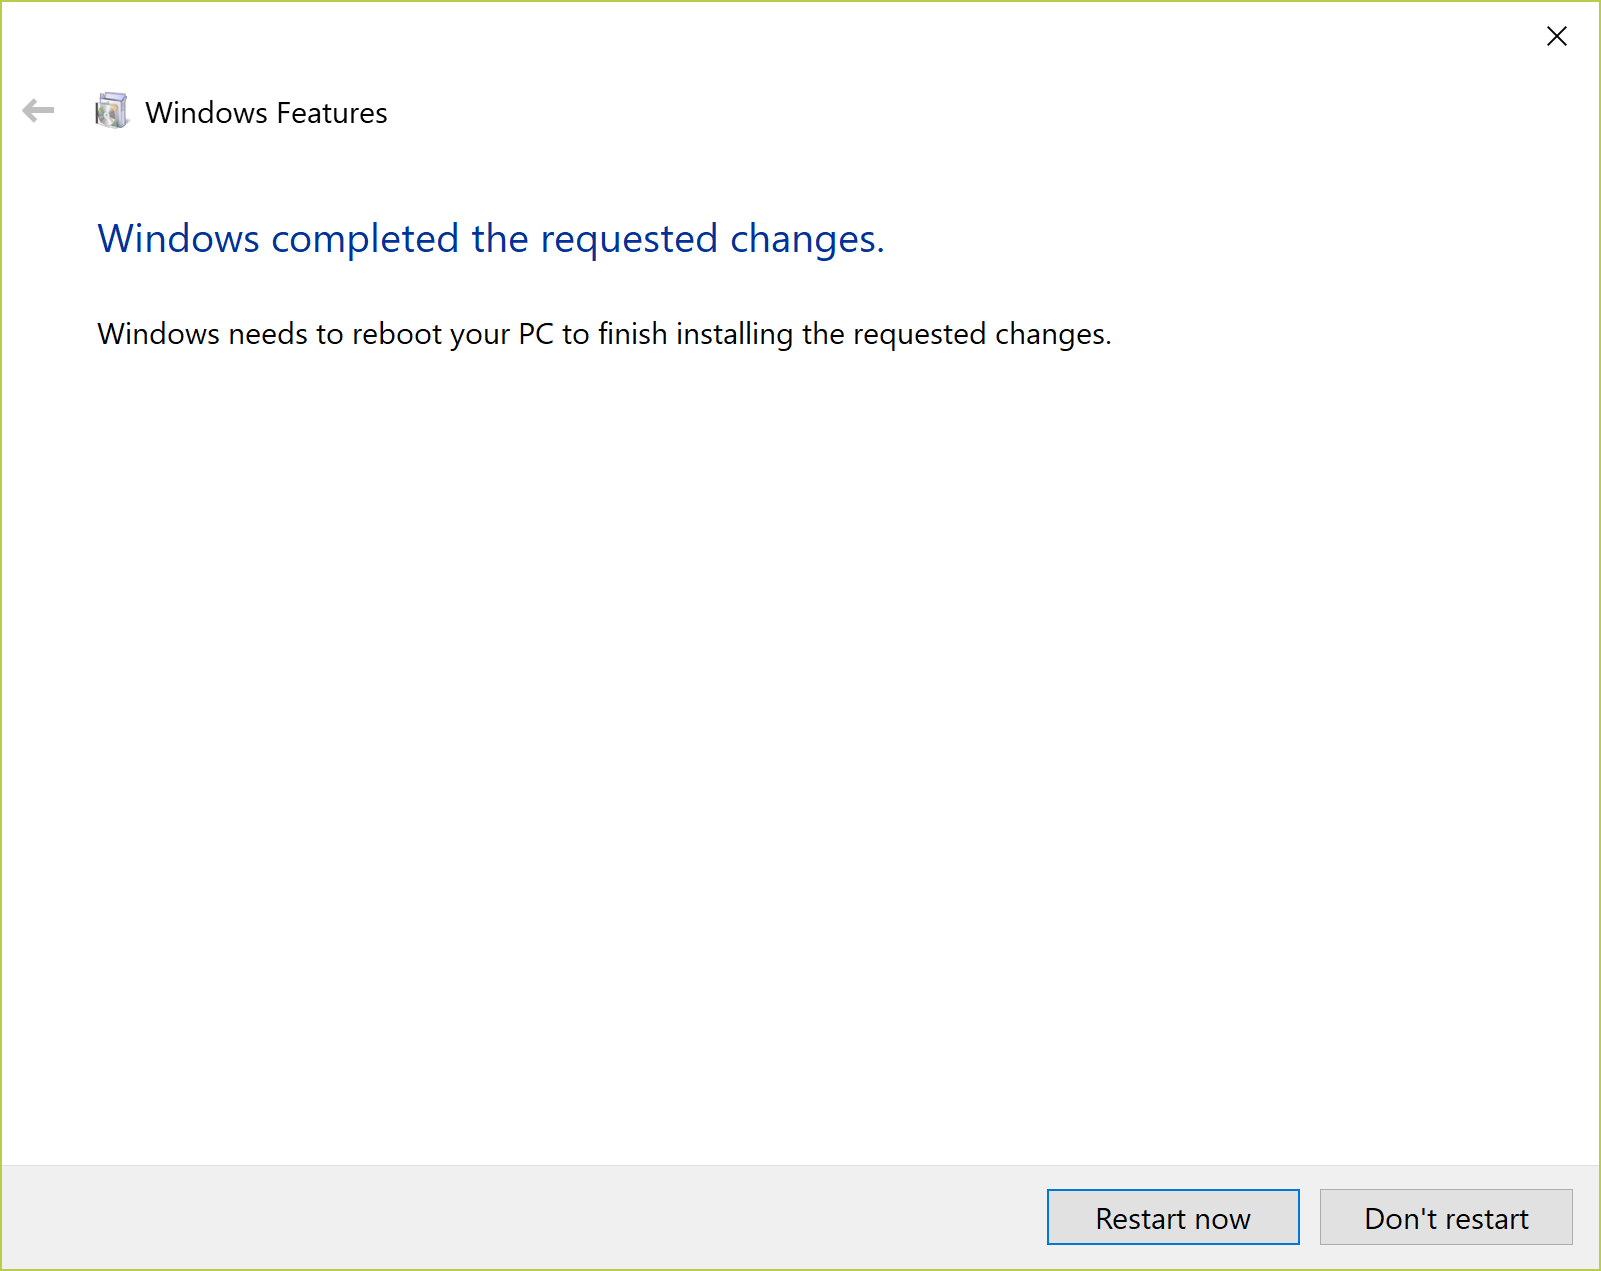
- Soon after, Windows will confirm the installation was successful. A reboot is necessary to complete it.
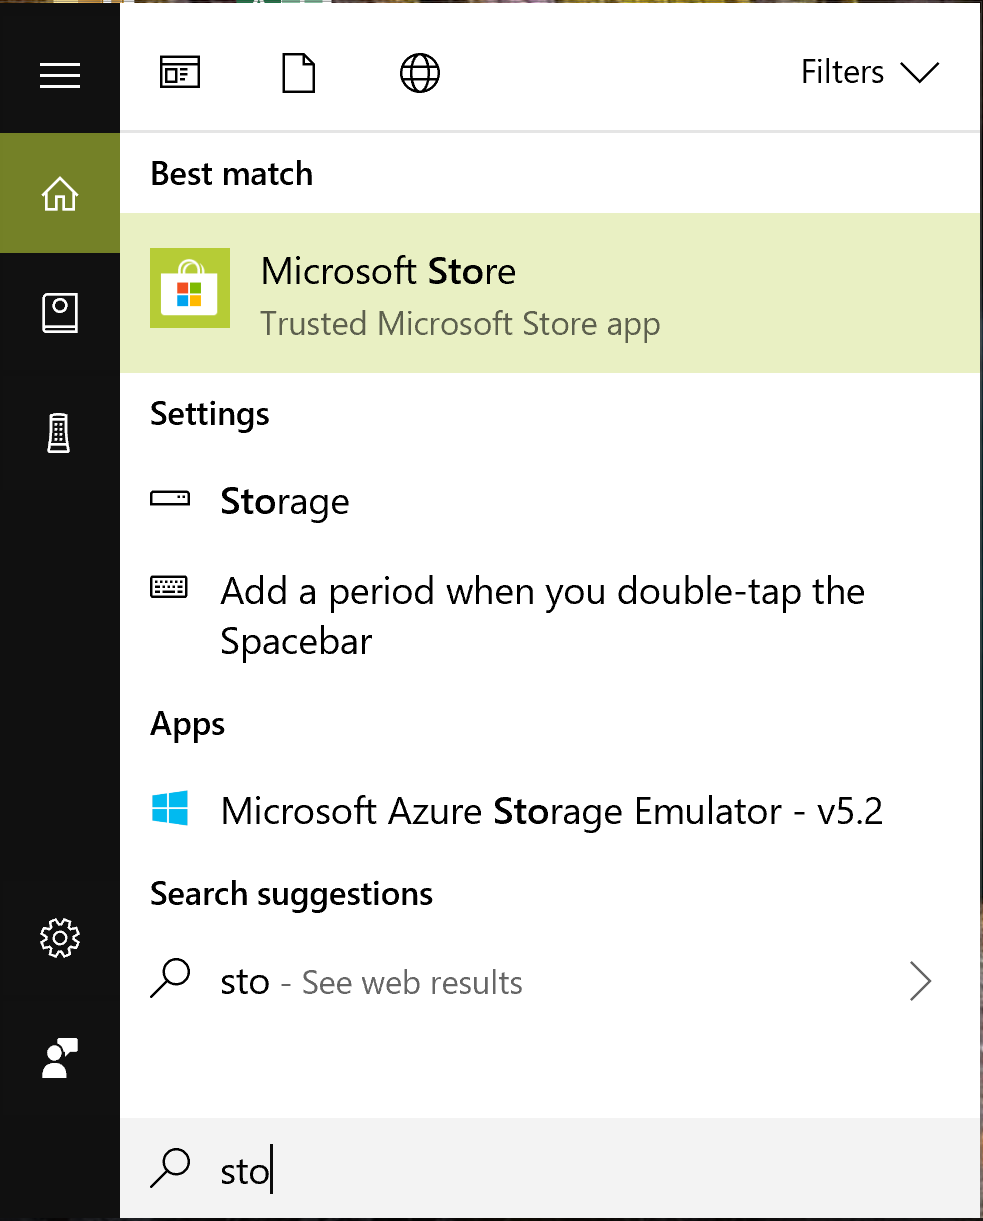
- Once the system has rebooted, open the Microsoft Store app, which can be found pressing Win-S, and searching “store”.
- In the Microsoft Store app, search for openSUSE Leap (the current version is 15.6), and select the corresponding app.

- Click on the “Install” button. After the installation is complete you should see the following screen, with the “Launch” button.
- Press the “Launch button”. A terminal will open, asking to wait for the installation to be completed.
- When the installation is complete, the system will ask to insert a username for the UNIX system, and the corresponding password. Select the username you prefer and specify a secure password.
- After the password is confirmed successfully, the terminal prompt will appear, indicating that WSL is working properly, as shown below.
- The installation can be tested by typing some commands like
freeordf, which report the amount of free RAM and disc space, respectively.
- In the tool, scroll down and select “Windows Subsystem for Linux”. Check the box and click on OK.
Installing OpenFOAM on WSL – openSUSE
Follow the instructions to install OpenFOAM and OpenQBMM on openSUSE Leap.
Installing OpenFOAM on WSL – Ubuntu
Ubuntu is also available in the Windows Store and can be installed following similar steps to those reported above for openSUSE Leap. Once Ubuntu is installed in the system, instructions to install OpenFOAM are available here.
Installing OpenQBMM
The installation steps for OpenQBMM are the the following:
- Create a directory called OpenQBMM
- Open a terminal in that directory
- Use the command
git clone https://github.com/OpenQBMM/OpenQBMM.git
- Optional: If the development version is desired, checkout the development branch:
git checkout -b development origin/development-openfoam.com
- Build OpenQBMM by running the following command in the OpenQBMM directory:
./Allwmake -j
This will create a working installation of OpenQBMM on Windows 10.
Note: [Obsolete version not containing bug fixes and new features] if your preferred version of OpenFOAM is OpenFOAM 7 instead of OpenFOAM v1912, install OpenQBMM as follows:
- Create a directory called OpenQBMM
- Open a terminal in that directory
- Use the command
git clone https://github.com/OpenQBMM/OpenQBMM.git
- Optional: If the development version is desired, checkout the development branch:
git checkout -b development origin/development-openfoam.org
- Build OpenQBMM by running the following command in the OpenQBMM directory:
./Allwmake -j